3-Way Light Switch Diagram: Understanding Wiring, Installation, and Functionalit

Introduction
A 3-way light switch is an essential electrical component that allows users to control a single light fixture from two different locations. Commonly found in stairwells, hallways, and large rooms, this setup provides convenience and enhances lighting control. Understanding how a 3way light switch works and how to wire it correctly is crucial for homeowners, electricians, and DIY enthusiasts.
This article will provide a comprehensive guide on 3way light switches, including wiring diagrams, step-by-step installation instructions, troubleshooting tips, and safety considerations.
Understanding a 3-Way Light Switch

What Is a 3-Way Switch?
A 3-way switch is a type of light switch that allows control of a single light from two locations. Unlike a standard single-pole switch, which has two terminals, a 3-way switch has three terminals: common, traveler, and ground.
Components of a 3-Way Switch System
- Two 3way switches – One switch at each control location.
- Light fixture – The connected load.
- Electrical wiring – Includes traveler wires, common wire, neutral wire, and ground wire.
- Power source – The electrical panel providing power.
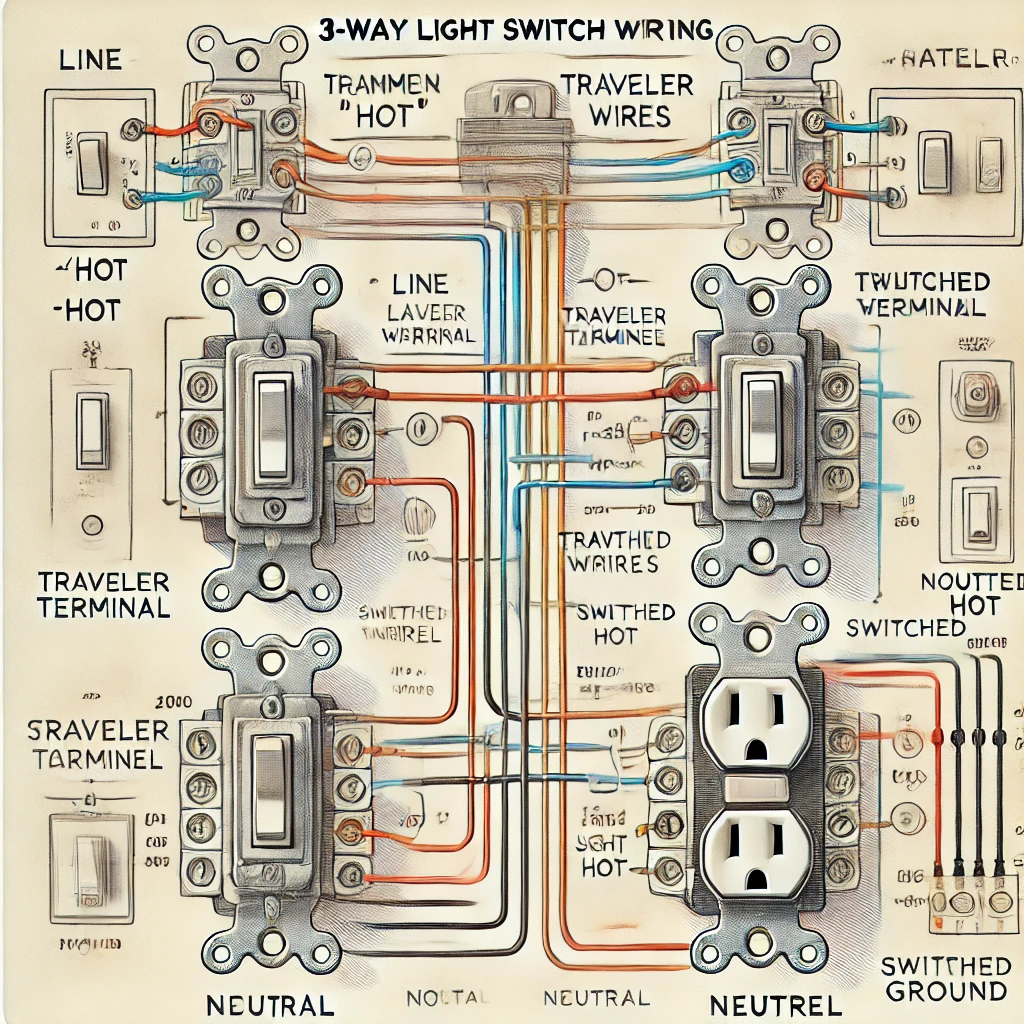
3-Way Light Switch Wiring Diagram

A typical 3-way switch setup includes:
- Common Terminal (COM) – Connected to the power source or the light fixture.
- Traveler Terminals (T1 & T2) – These two terminals carry current between switches.
- Ground Terminal – Ensures safety by grounding the circuit.
Basic 3-Way Switch Wiring Diagram
Power Source → Switch 1 → Traveler Wires → Switch 2 → Light Fixture → Neutral WireThe wiring consists of:
- Black Wire (Hot/Line): Brings power from the source.
- Red & Black Wires (Traveler Wires): Connect the two switches.
- White Wire (Neutral): Returns current to complete the circuit.
- Bare/Green Wire (Ground): Provides grounding.
Step-by-Step Guide to Wiring a 3-Way Switch

Tools and Materials Needed
- 3-way switches (x2)
- Electrical wire (12/3 or 14/3 gauge)
- Wire strippers
- Screwdrivers
- Electrical tape
- Voltage tester
Step 1: Turn Off Power
Before beginning, switch off the power at the circuit breaker to ensure safety.
Step 2: Install the First 3-Way Switch
- Connect the incoming hot wire (black) to the common terminal of Switch 1.
- Connect the traveler wires (red and black) to the traveler terminals.
- Attach the ground wire to the green screw.
Step 3: Run Wires to the Second Switch
- Extend the red and black traveler wires to Switch 2.
- Connect them to the corresponding traveler terminals.
Step 4: Connect Switch 2 to the Light Fixture
- Attach the black wire (common) from Switch 2 to the light fixture’s hot wire.
- Connect the neutral (white) wire from the fixture to the power source’s neutral wire.
- Secure all ground wires.
Step 5: Test and Secure Connections
- Restore power at the circuit breaker.
- Test both switches to ensure proper function.
- If the light does not turn on, double-check connections and continuity.
Troubleshooting Common Issues

1. Light Does Not Turn On
- Verify power at the breaker.
- Ensure wires are correctly connected to terminals.
- Test for a faulty switch.
2. Light Only Works from One Switch
- Check for loose traveler wire connections.
- Confirm the common wire is correctly attached.
3. Flickering Light
- Ensure tight and secure wire connections.
- Check for a faulty bulb or switch.
Safety Considerations
- Always turn off power before working on electrical wiring.
- Use a voltage tester to confirm circuits are de-energized.
- Follow local electrical codes and regulations.
Conclusion
A 3-way light switch provides enhanced lighting control and convenience. By understanding its wiring diagram and following a step-by-step installation process, you can successfully install and troubleshoot a 3-way switch system. Whether you’re a DIY enthusiast or an electrician, mastering this setup ensures improved functionality and safety in your home or workplace.


