


3-Way Switch Wiring Diagram with Power at Light: Step-by-Step Guide
Introduction
A 3-way switch wiring diagram with power at light describes a setup where electrical power enters through the light fixture rather than one of the switches. This is a slightly less common but still effective method for wiring a 3-way switch circuit, which allows you to control a single light from two separate locations.
Understanding this type of wiring is crucial for homeowners, electricians, and DIY enthusiasts who want to install or troubleshoot 3-way switches. In this guide, we will explain how a 3-way switch works, provide a detailed wiring diagram, and outline the steps to wire a 3-way switch with power at the light.
Understanding a 3-Way Switch Circuit
A 3-way switch system is different from a standard single-pole switch because it includes two switches controlling one light fixture. Instead of a simple on/off function, these switches work in tandem, meaning that toggling either switch can turn the light on or off.
Key Components:
- Power Source: The electrical supply that feeds the circuit.
- Light Fixture: The connected load being controlled.
- Two 3-Way Switches: Specialized switches with three terminals each—common (COM), traveler 1, and traveler 2.
- Electrical Wiring: Including neutral, ground, and traveler wires to complete the circuit.
In a 3-way switch configuration with power at the light, the power source first connects to the light fixture before reaching the switches.
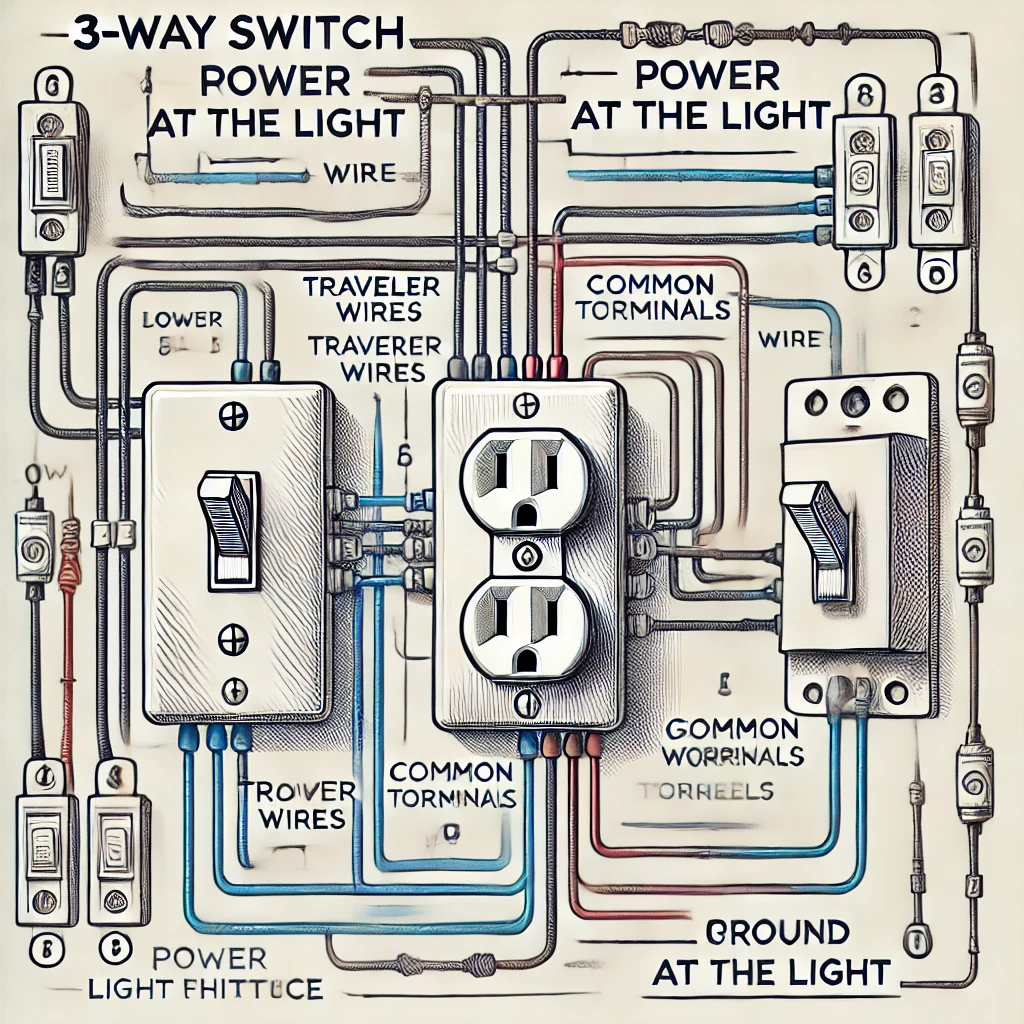
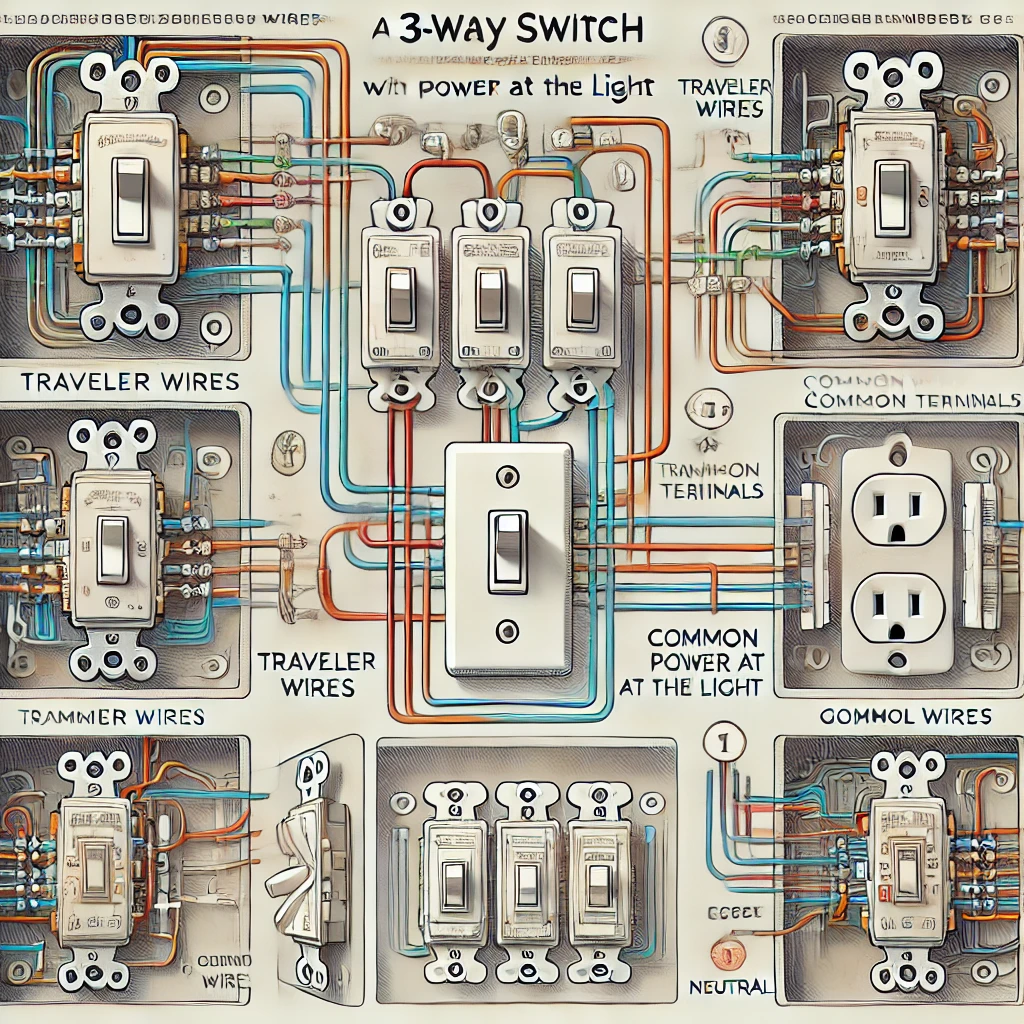
Wiring Diagram for a 3-Way Switch with Power at Light
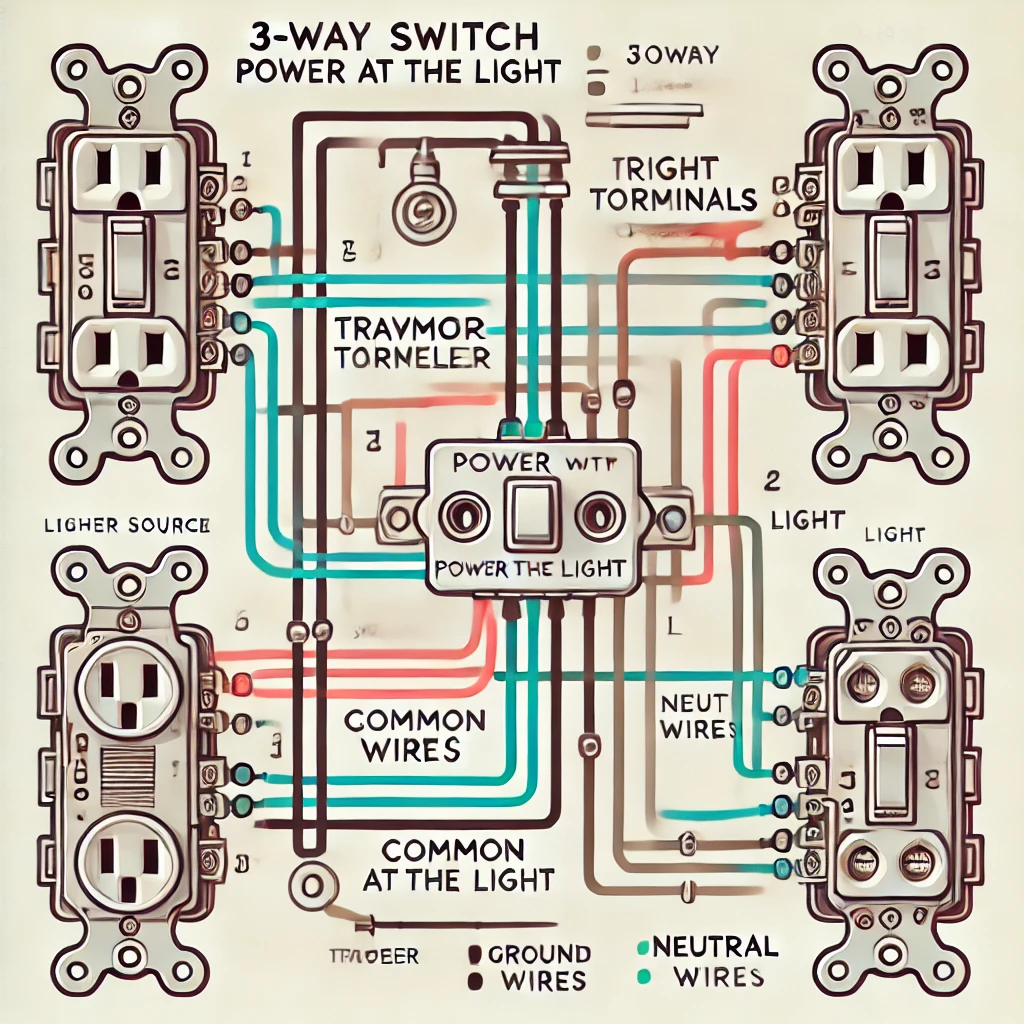
Step-by-Step Wiring Breakdown
- Power Enters at the Light Fixture:
- The hot (black) wire from the power source connects directly to the light fixture.
- The neutral (white) wire is connected directly to the light fixture’s neutral terminal.
- Running a 14/3 or 12/3 Cable to the First Switch:
- A 3-conductor cable (with black, red, and white wires) is run from the light fixture to the first 3-way switch.
- The white wire (neutral) is re-designated as a hot conductor (by marking it with black tape) and connected to the light fixture.
- The black and red wires function as traveler wires between switches.
- Connecting the Second Switch:
- Another 3-conductor cable runs from the first switch to the second switch.
- The traveler terminals of both switches are connected using the red and black wires.
- The common terminal of the second switch is connected back to the light fixture’s switched hot terminal.
- Grounding the Circuit:
- All ground wires (bare or green) must be connected together and grounded to the switches and light fixture.
Step-by-Step Guide to Wiring a 3-Way Switch with Power at the Light
Materials Needed:
- Two 3-way switches
- One light fixture
- Electrical wire (12/3 or 14/3 cable, depending on circuit load)
- Wire strippers
- Screwdrivers
- Voltage tester
- Electrical tape
- Wire nuts
Step 1: Turn Off Power
- Shut off the circuit breaker to prevent electrical hazards.
- Use a voltage tester to confirm the power is off.
Step 2: Mount the Light Fixture and Switch Boxes
- Secure the light fixture to the ceiling or wall.
- Install electrical boxes for the two switches at convenient locations.
Step 3: Run Electrical Cables
- Run a 12/3 or 14/3 cable from the light fixture to Switch 1.
- Run a second 12/3 or 14/3 cable from Switch 1 to Switch 2.
- Ensure that all cables are securely fastened.
Step 4: Make Connections at the Light Fixture
- Connect the neutral (white) wire from the power source to the light fixture’s neutral terminal.
- Reassign the white wire in the traveler cable (mark it with black tape) and connect it to the light fixture’s hot terminal.
- Connect the ground wire to the fixture’s ground terminal.
Step 5: Wiring the First 3-Way Switch
- Common Terminal: Connect the black wire (coming from the light fixture) to the common terminal of the first switch.
- Traveler Terminals: Connect the red and black traveler wires to the traveler terminals of the switch.
- Ground Terminal: Attach the bare ground wire.
Step 6: Wiring the Second 3-Way Switch
- Common Terminal: Connect the black wire from Switch 1 to the common terminal.
- Traveler Terminals: Connect the red and black traveler wires to the traveler terminals.
- Ground Terminal: Attach the bare ground wire.
Step 7: Final Checks and Testing
- Secure all wire connections using wire nuts and electrical tape.
- Carefully push wires into the electrical boxes and attach switch covers.
- Restore power at the circuit breaker and test the switches.
- Toggle both switches to ensure that the light turns on/off properly from either location.
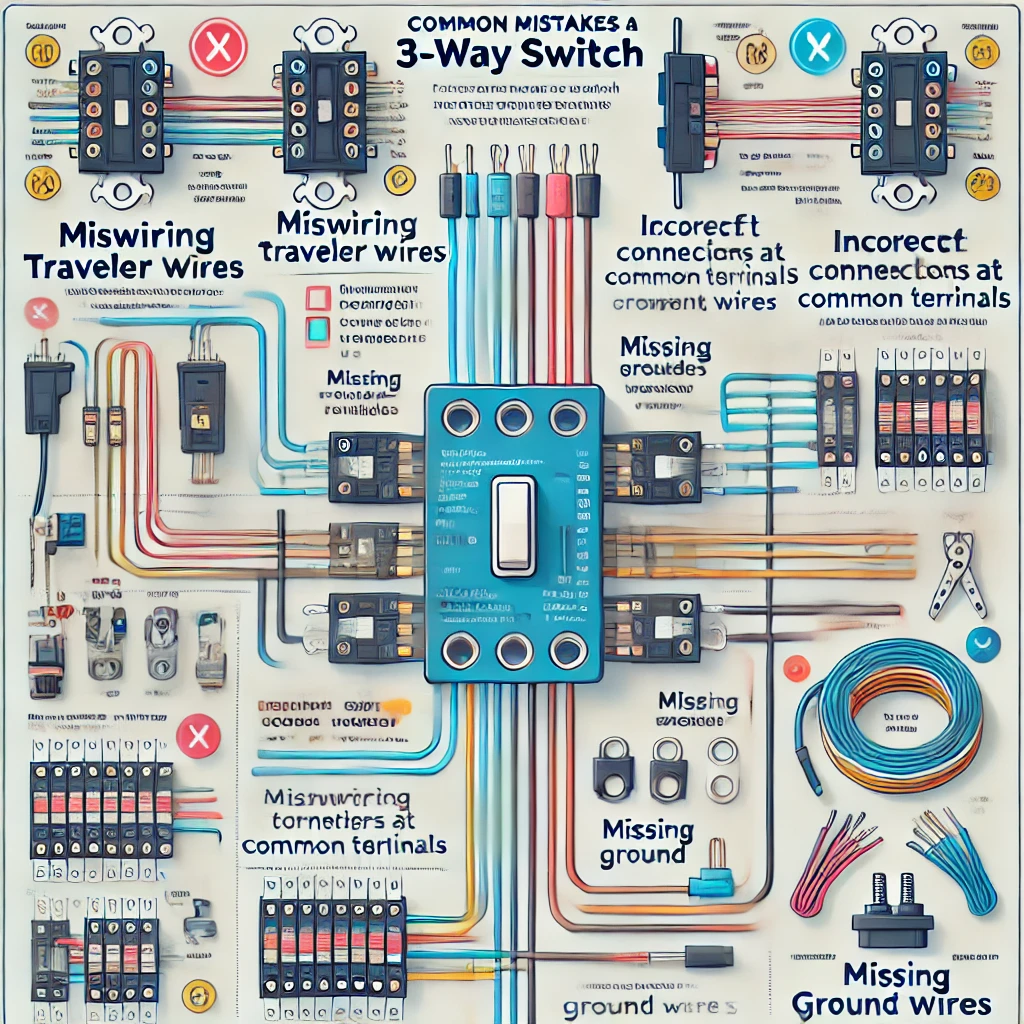
Common Mistakes and Troubleshooting Tips
1. Light Not Turning On
- Verify that the neutral wire is properly connected at the light fixture.
- Check for loose traveler wire connections at the switches.
- Ensure the common terminal connections are correct.
2. Light Only Works from One Switch
- One of the traveler wires might be miswired—double-check connections.
- The common wire could be connected to the wrong terminal.
3. Switches Work in Reverse Order
- Reverse the traveler wires at one of the switches.
4. Electrical Overload or Circuit Tripping
- Ensure the wire gauge matches the circuit breaker rating (14-gauge for 15A, 12-gauge for 20A).
- Look for exposed wires causing a short circuit.
Conclusion
Wiring a 3-way switch with power at the light fixture may seem complex, but with the right understanding of electrical wiring principles, proper materials, and a systematic approach, it can be accomplished safely and effectively.
By following this guide and the wiring diagram provided, you can successfully install a 3-way switch circuit that allows convenient control of a single light from two locations. Whether for home renovations or new installations, mastering this wiring method enhances your electrical skills and improves home lighting functionality.
If you’re unsure about any step, consider consulting a licensed electrician to ensure safety and compliance with electrical codes.

На этом сайте вы сможете найти свежие новости Краснодара.
Здесь размещены главные новости города, обзоры и оперативная информация.
Будьте в курсе развития событий и получайте информацию из первых рук.
Если вам интересно, что происходит в Краснодаре, заглядывайте сюда регулярно!
https://rftimes.ru/